WooCommerce bulk edit categories: move, add and remove products in bulk
WooCommerce bulk edit categories is a job that comes up every time a shop reorganises: a hundred products have to move from one category to another, a whole filter result needs a second category, or one category has to come off a set of products without disturbing the rest. BEAR does this as a bulk editor: it changes which categories a product is assigned to, for many products at once, from the Bulk Edit tab. It does not manage the category tree. Categories are created, renamed and nested in WooCommerce under Products → Categories; BEAR assigns the ones that exist.
WooCommerce bulk edit categories: the three operations for taxonomies
In the Bulk Edit tab, Basic section, under the small heading taxonomies, every product taxonomy has its own row: Categories, Tags, and any custom taxonomy you have switched on in the Settings tab. Each row is a multi-select listing the existing terms, with child categories indented under their parents, a checkbox labelled select it to use that puts the row into the operation, and a behaviour drop-down with three choices:
- append adds the selected terms to whatever the product already has.
- replace makes the selected terms the product's only terms in that taxonomy. Anything not selected is dropped.
- remove detaches the selected terms and leaves the other terms in place.

Tags and custom taxonomies go through the same code as categories, so the three behaviours and the steps below are identical for them. Attributes are a separate field type with their own rows and are not covered here.
The operation runs on one of three targets, in this order of priority: products you ticked with checkboxes on the current page, the products left after filtering, or every product in the shop. The line at the top of the Bulk Edit tab tells you which one is active. Check it before you press the button; a replace applied to the whole shop by mistake is the kind of thing this line exists to prevent.
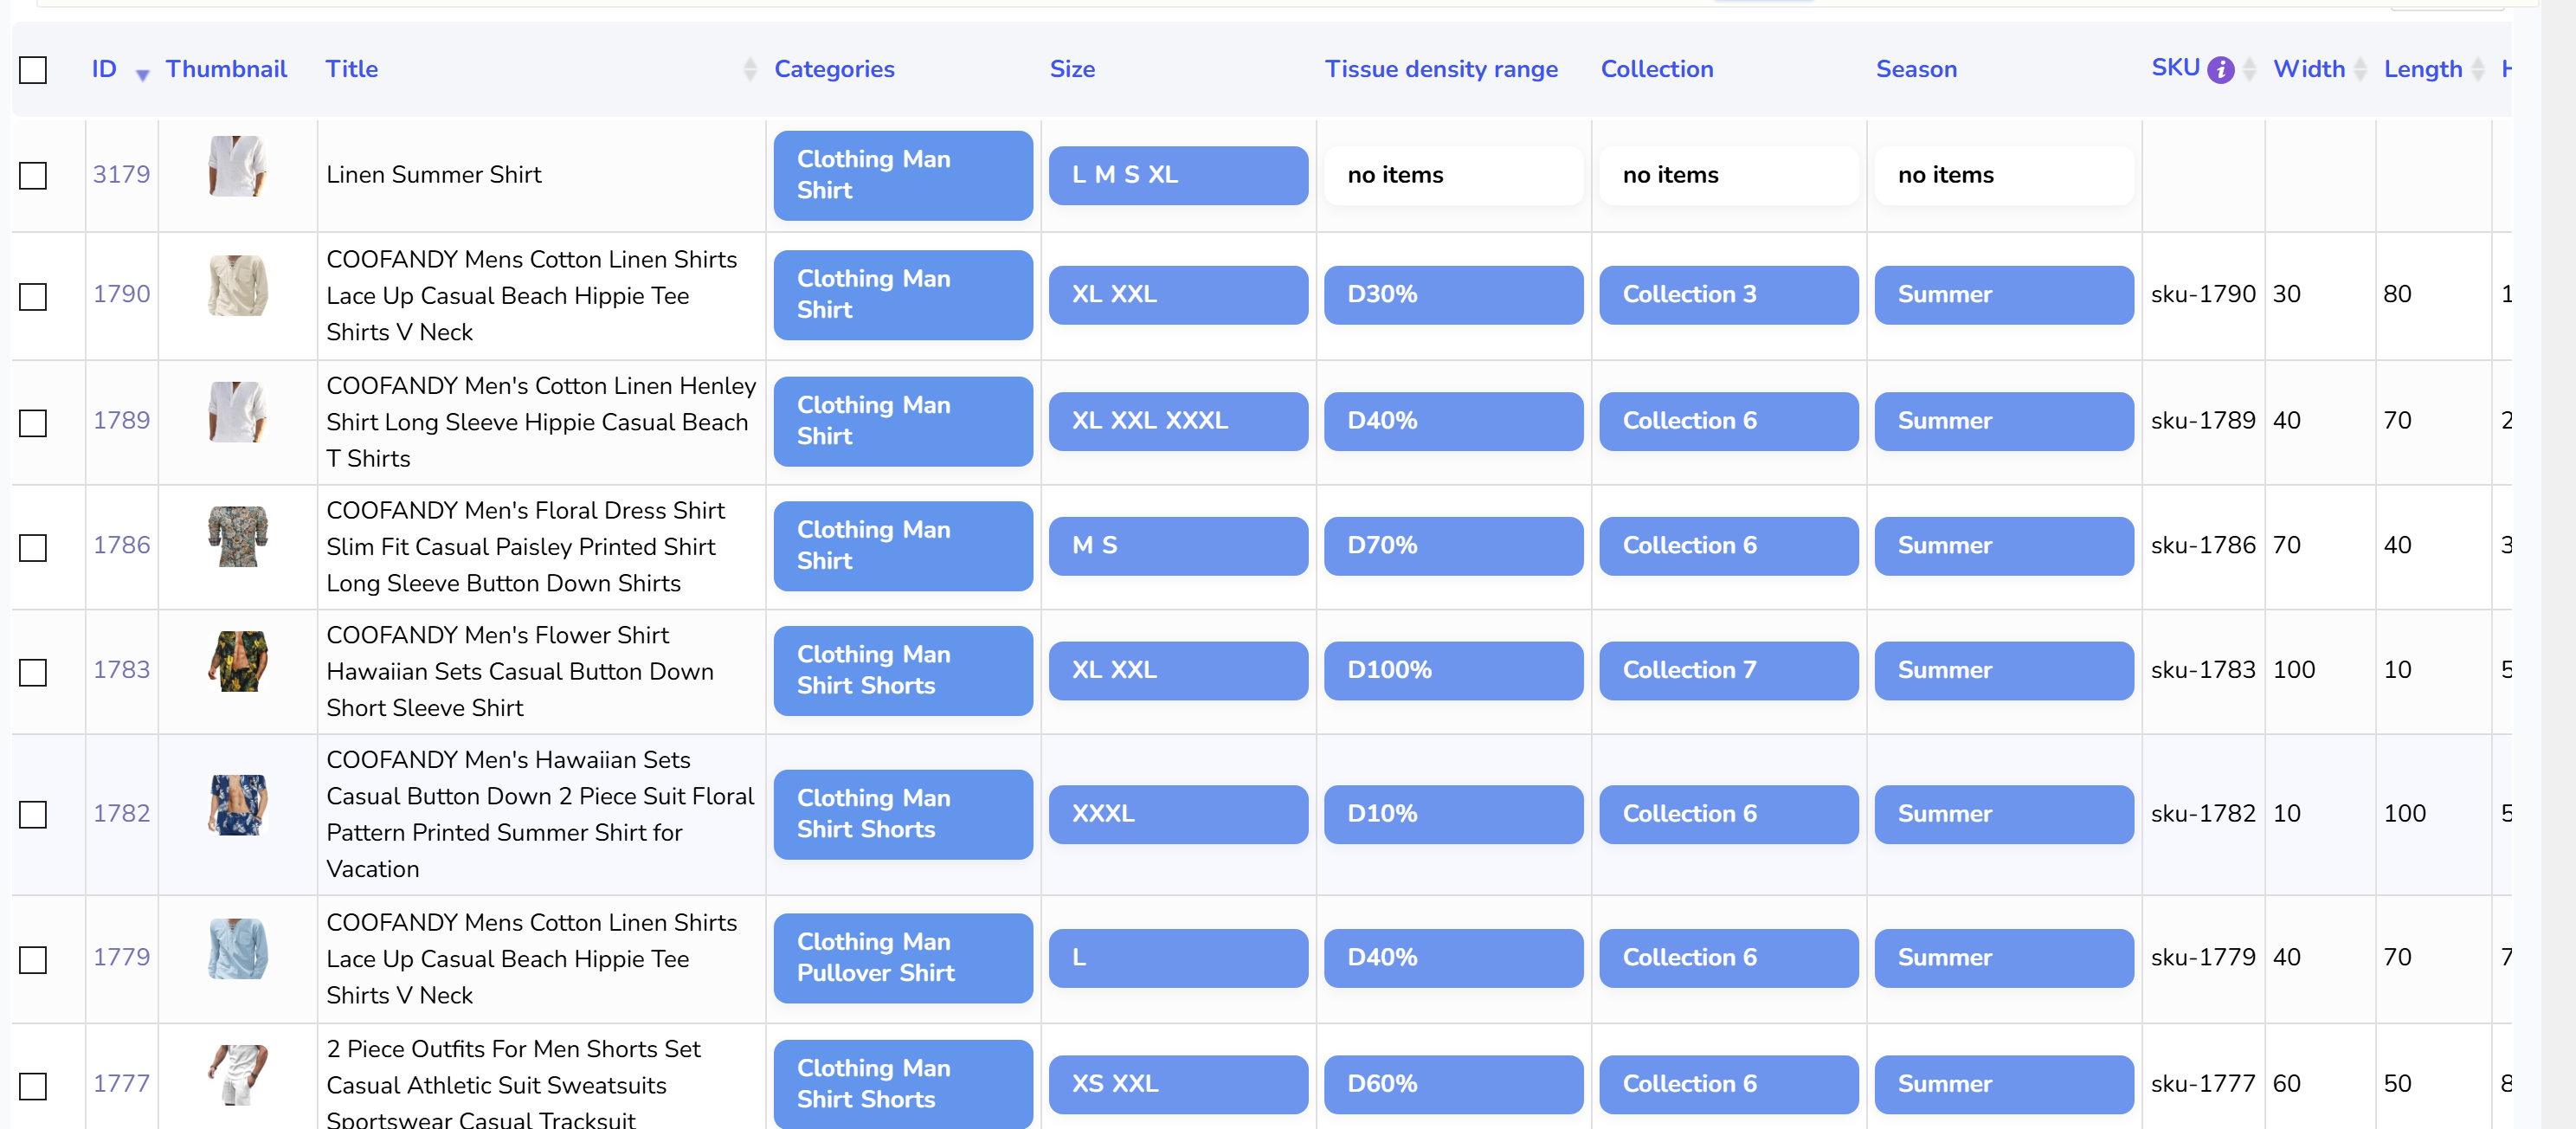
Move products from one category to another
The task: everything in Winter 2027 should now be in Archive, and out of Winter 2027.
- Open the Filters tab. In the Categories drop-down pick Winter 2027, leave the behaviour on OR, press Filter. The Products Editor now lists only those products, across all pages.
- Open the Bulk Edit tab. In the Categories row tick select it to use, choose Archive in the multi-select, set the behaviour to append, and run the operation. The products are now in both categories.
- Stay on the same filter. In the Categories row choose Winter 2027, set the behaviour to remove, and run again. The products keep Archive and any other category they had, and lose Winter 2027.
Two operations, because one row carries one behaviour per run. If the products should end up in Archive and nothing else, a single run with replace and Archive selected does it, at the cost of every other category those products were in. Read what the filter caught before choosing that.
Add a category to every product in a filter result
Filter by whatever defines the set: another category, a tag, a text in the title, a price range, an attribute, or a combination. Filters on different taxonomies combine with AND; within one taxonomy the drop-down next to it sets OR, AND or NOT IN. Then in Bulk Edit tick the Categories row, select the category to add, choose append, run. Existing categories stay. This is the bulk change categories that a seasonal promotion usually needs, and the same three clicks put a tag on the set if you use the Tags row instead.
Bulk remove products from a category
Filter by the category you want to empty, or tick the products on the page. In Bulk Edit tick the Categories row, select that one category, choose remove, run. Only the selected category is detached; a product filed in three categories keeps the other two. For a handful of products on one page the Products Editor is quicker: click the Categories cell of a product, untick the category in the popup, save. With binded editing switched on and several products ticked, the set of categories you leave in that popup is written to all of them, so use it only when the ticked products should share exactly the same categories.
Export WooCommerce categories with the products
The Export tab writes the products to CSV or XML with the columns that are switched on, so with the Categories column enabled the file lists every product with its categories, parents included, in the notation the WooCommerce product importer reads. Filter first if you need one branch of the tree rather than the whole catalogue: the export takes the same three targets as Bulk Edit. A spreadsheet of products and categories is the fastest way to review a reorganisation before running it, and the file can be corrected and imported back with the standard WooCommerce importer.
Undo a category change
Each bulk run on a taxonomy is recorded in the History tab with the previous value per product, the same as any other field. A bulk record shows the time span, the number of products and the field; Revert puts the old assignments back. History does not cover product deletion or the operations of Variations Advanced Bulk Operations, but category, tag and taxonomy edits are covered.
Custom taxonomies
A custom taxonomy such as Brand or Location behaves exactly like Categories once it exists. Create it with a taxonomy plugin, switch it on in the BEAR Settings tab, and it appears as a filter, as a column in the Products Editor and as a row in Bulk Edit with the same append, replace and remove. The short FAQ entry how to add custom taxonomies lists the steps.
Free and premium
In the free version the Categories row is fully usable in Bulk Edit: append, replace and remove all work. Tags and custom taxonomies are premium: in the free build their rows are shown without the select it to use checkbox, so they cannot join an operation. History in the free version keeps two records, which is enough to revert the two-step move described above, but nothing older. The paid version opens every taxonomy row and keeps the full history.